A Tisket a Tasket a Woven Cloth Basket
An Upcycled Craft Project
Gifts made with a child's hand are seen through the eyes of love.
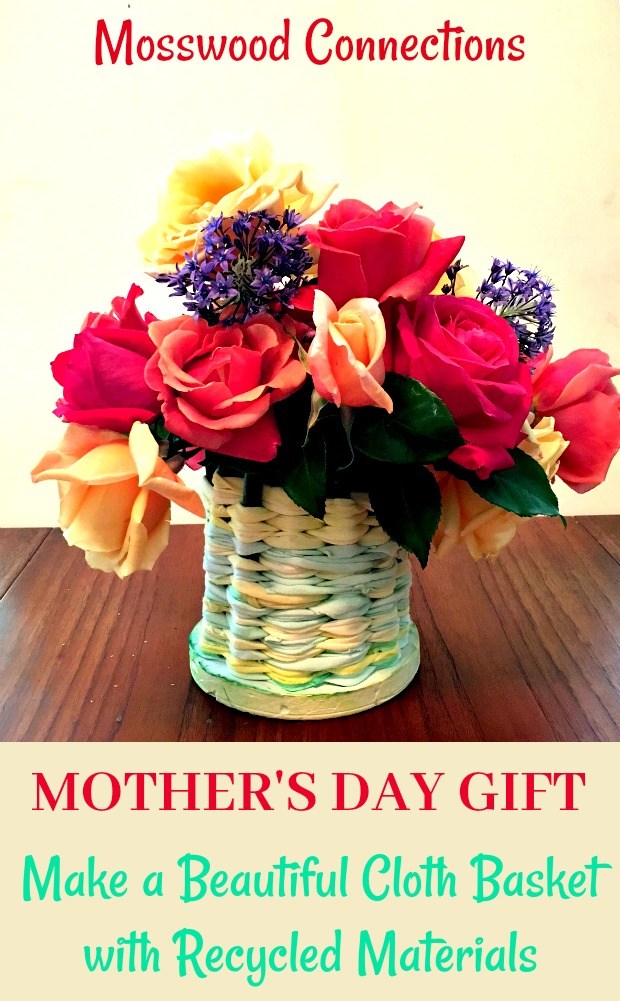
We were challenged to find creative ways to upcycle different materials for Earth Day. We chose to do an upcycled woven cloth project because it was a real challenge for us to figure out a way to upcycle fabric and we wanted to stretch our creativity. Sarah and I don't sew so we had to find an interesting way to use the fabric. We decided to turn an old t-shirt into a woven cloth basket.
Because we love to sneak in skill building we decided to have the kids practice weaving. We love weaving activities. Weaving is a wonderful fine motor activity as well as being a valuable way to strengthen pre-reading skills. The way the eyes track a weaving project mimics the way eyes track words while reading.
This page contains affiliate links. Please visit our disclosure page for more information.
Materials for your upcycled woven cloth basket:
- Plaster of Paris
- A plastic lid with 3/4" or higher sides
- Sticks cut the same length. We used twelve 8" sticks for our larger basket and nine 6" inch sticks for a smaller one. If you don't have sticks from your garden you can use popsicle sticks.
- Cooking spray
- Scrap fabric. We used one large man's t-shirt.
- Scissors
- Vegetable food dye (optional)
Instructions for your upcycled woven cloth basket:
- Spray the plastic lid lightly with the cooking spray. This is to help the Plaster of Paris separate from the plastic lid.
- Mix the Plaster of Paris according to directions. If you want it to be colored add the vegetable food dye. Pour the mixture into the plastic lid. We had a flexible plastic lid for our first basket, but when I made some more for the kids to use I only had stiff plastic lids and I was unable to pry the Plaster of Paris out of the lids. It worked out fine but the stiff plastic lids became part of the base of the basket.
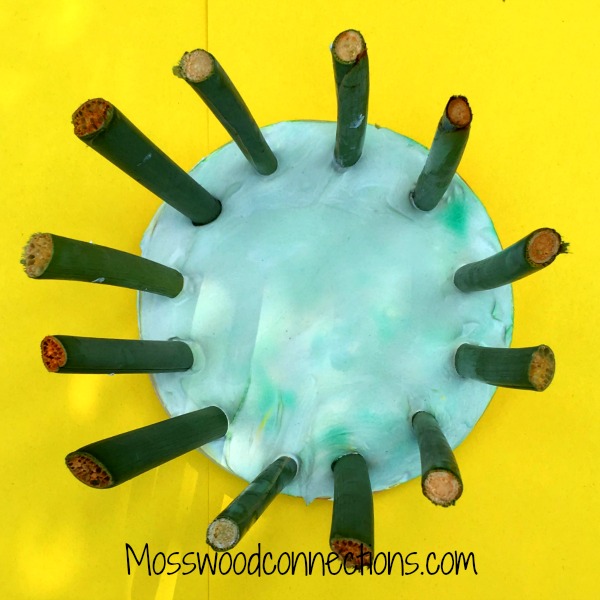
- Before the plaster has a chance to dry, place the sticks evenly around the circumference of the lid. Our sticks were placed about an inch apart. Smaller fingers need a good amount of space, larger fingers can handle the sticks being closer together. When we used an even amount of sticks we noticed that every other stick remained exposed. An odd number of sticks will give you an alternating pattern. It's a personal choice but we preferred the look of an alternating pattern. Allow the plaster time to dry.
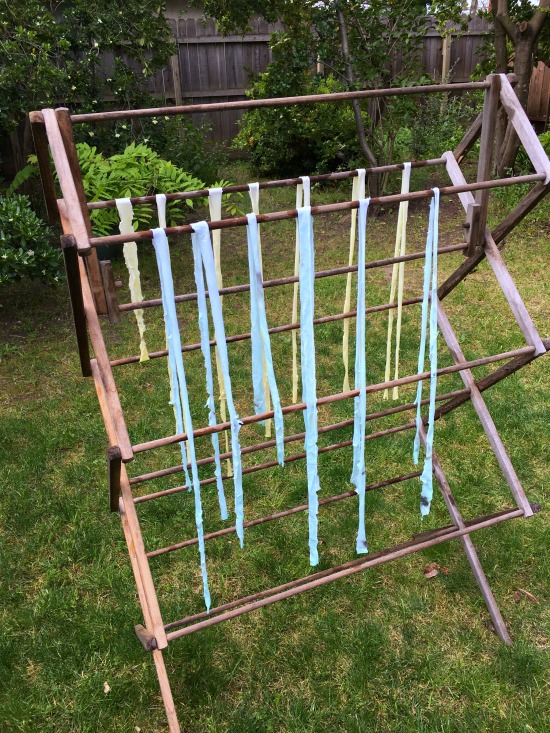
- While the plaster was drying we decided to dye our fabric. First, we cut a cotton t-shirt into one-inch strips then we used natural food dye the fabric. You can find the recipe for natural food dye here. We let the fabric soak in the dye for an hour and then hung it out to dry. Dying the fabric is optional. We just thought it was a good opportunity for another lesson in Earth science.
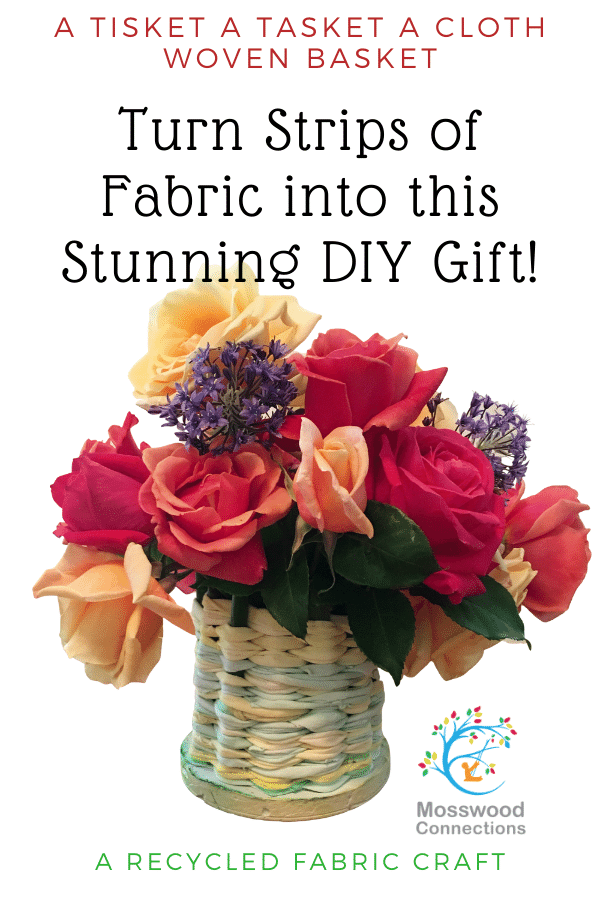
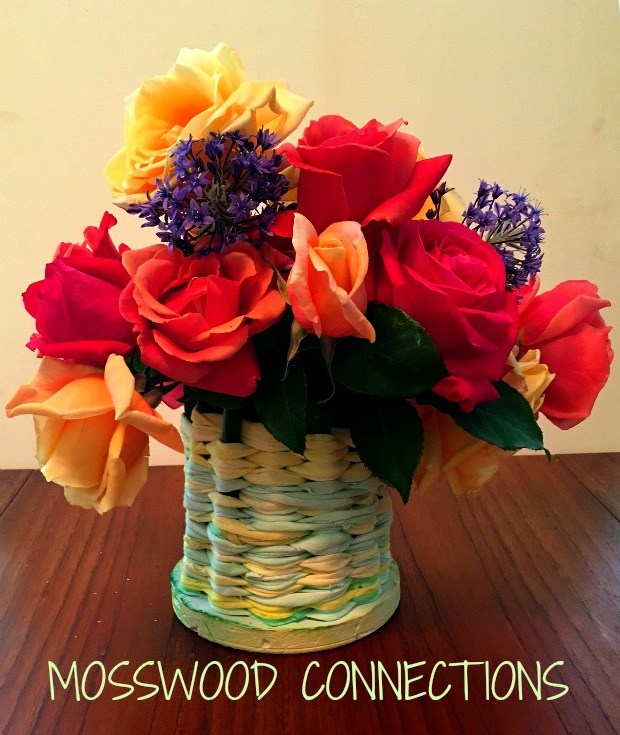
- Now it is ready for the kids to weave. Tie one strip of fabric onto one of the sticks and weave the fabric around the sticks. Remember to tie another strip onto the previous strip of fabric before it is too short. Tuck the knots inside the basket. Tie the last strip of fabric off and you have a beautiful woven cloth basket. We put a vase in ours and added flowers.
Children will be proud to share this homemade gift with someone they love.
You can find a fantastic collection of Upcycled Craft Projects at the EARTH MONTH UPCYCLE CHALLENGE.
- Puzzle Pins: DIY jewelry
- Upcycled Nuts and Bolts Heart: the perfect Father's Day gift.
- Fabric Bowls: Another way to use your fabric scraps
- How to Make a Great Recycled Fabric Bag from Witty Hoots
- Hand Knit a Rag Rug from Nemcsok Farms
- 10 Awesome Upcycle Ideas for Old Clothes from Crafty Mama in ME
- How to Make Yarn Out of Old Jeans from Our Daily Craft
- How to Sew a Drawstring Bag from Kitchen Counter Chronicles
