Fun with Science in Art
We are super excited to have a young artist on the blog today. I invited Sarah G. to do an art project for us and she decided to experiment with science in art.

Sarah’s Session #1: Fun with Science in Art
This post contains affiliate links. Please visit our disclosure page for more information.
When I started working at my new job as an art teacher, I also started learning – double time! Being in school studying art, and being able to be an art teacher at the same time, is very fulfilling. At my place of work, one of the first set of tools I acquired was a large assortment of materials useful for new art projects, but I also felt like a scientist. I now had the materials that I needed to explore science in art; combining different materials, seeing how they react together to get different results. With this project and the many variations different art materials provide, others can feel like super-artsy scientists too.

Fun with Art and Science
Materials for Fun with Science in Art
- Oil Pastels: Pentel Arts Oil Pastels, 50 Color Set (PHN-50)
- Watercolors: BIN530525 - Crayola Washable Watercolor Paint
- Watercolor Paper: XL Watercolor Pad, 9"X12" Fold Over
- Board to “stretch” paper (tape paper down to draw and paint on)
- Water Cup
- Watercolor Paintbrush: Grace Art Water Color Brush Set WS12
- Masking Tape or Artist's Tape: Pro Art 1/2-Inch by 60-Yards White Artist Tape
Fun with Science in Art Project Instructions:
OIL and WATER are not friends. When they get near each other, they have to immediately run away; they do not mix. This makes for a very interesting, cool effect, and is an easy project for all ages to develop and keep fine motor functions active.
Here’s how you proceed:
- Start by taping off the edges of your paper. This is to hold the paper down which keeps the edges from curling up and to give your piece a nice finished border afterward.
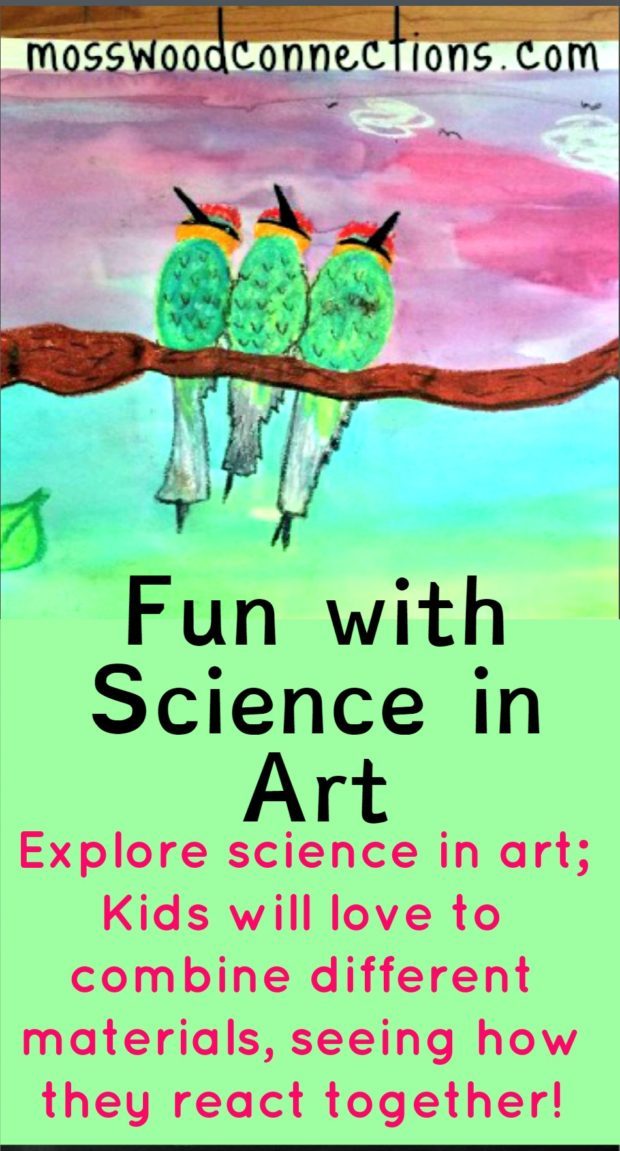
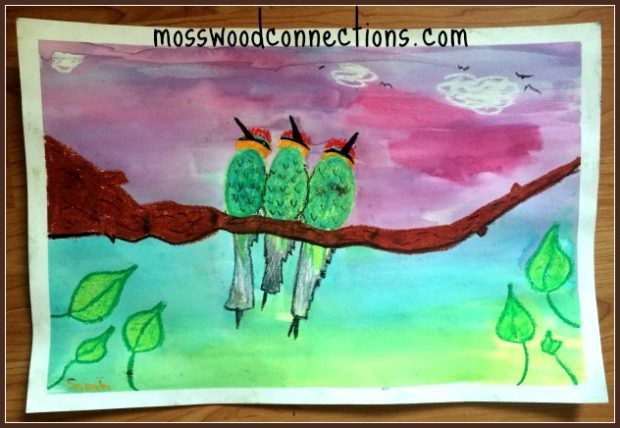
- Now draw the image of your choice with the oil pastels, as well as any details that go with the picture scene. See the Bee-Eater birds on the branch below with leaves, clouds, and far away birds. You can call the clouds “magic clouds”. Because of the white pastel on the white paper, the clouds stay hidden until adding watercolors on top. They appear like magic! Kids also love this technique for writing secret messages.
- To prevent any unwanted watercolor from saturating specific areas, make sure to fill in all the shapes with the oil pastel.
- Allow the oil pastels some time to dry and then paint on the picture with the watercolors. Ask the kids to observe what happens when the watercolors meet the oil pastels.
When painting outdoor/ nature scenes, the sky, the background, and bodies of water give a high allowance of artistic freedom. The many different times of day yield many varieties of color combinations for both sky and water. So if the kids want to paint a pink sky or a purple field let them express their creativity.

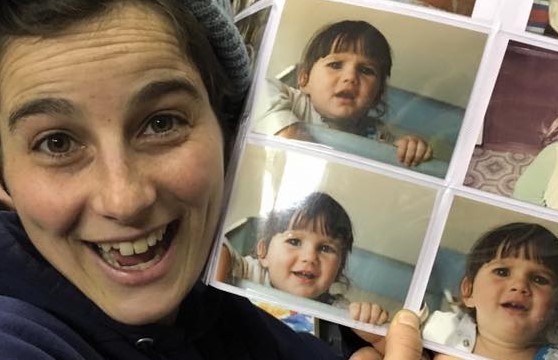
About Sarah Gendler: The artist who created our Fun With Art and Science art activity
26 years young, born and raised in South San Jose;
artist, student, a teacher at Hidden Talent Art Studio, daughter, sibling, friend.
